rclone GUI
Browse, create and upload to Zata buckets from rclone's web interface.
rclone has a built-in web interface that runs on your own computer. Use it to connect Zata once, then browse your buckets, create buckets and upload files in the browser.
Before you start
- A bucket. See Create a bucket.
- An access key and secret key from the same region as the bucket. See Access keys.
- rclone installed. See the rclone downloads page, or the install steps for Windows and Linux.
Connection settings
| Field | Value |
|---|---|
| type | s3 |
| provider | Other |
| access_key_id / secret_access_key | from Access Keys in the Zata console. The key must be from the same region as the bucket. |
| region | us-east-1 |
| endpoint | https://idr01.zata.ai for Indore, https://bom01.zata.ai for Mumbai |
| force_path_style | on |
| no_check_bucket | on |
| sign_accept_encoding | false |
Start the GUI
Open PowerShell (Windows) or a terminal (Linux, macOS) and run:
rclone gui
rclone starts the web interface on your computer and opens it in your browser, already logged in. Keep the terminal open while you use it; press Ctrl+C there to stop it.
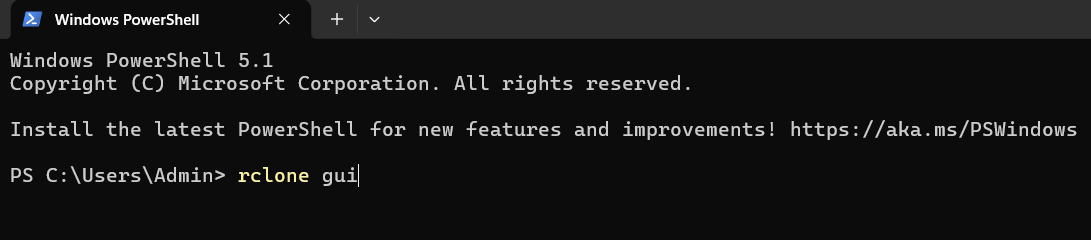
The rclone gui command exists in recent rclone versions. If your rclone does not know it, update rclone, or start the older web interface with rclone rcd --rc-web-gui.
Add Zata as a remote
Select Remotes in the top menu, then Add New Remote.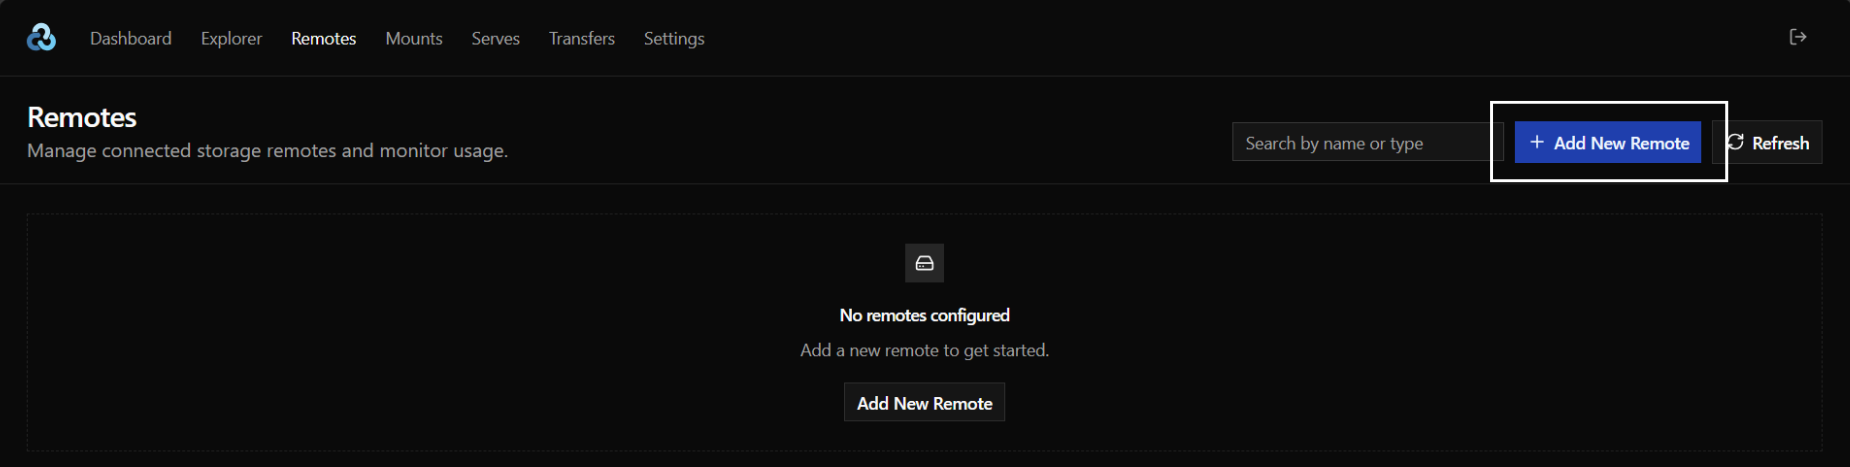
Enter a name, for example zata. In type, choose s3 (Amazon S3 Compliant Storage Providers).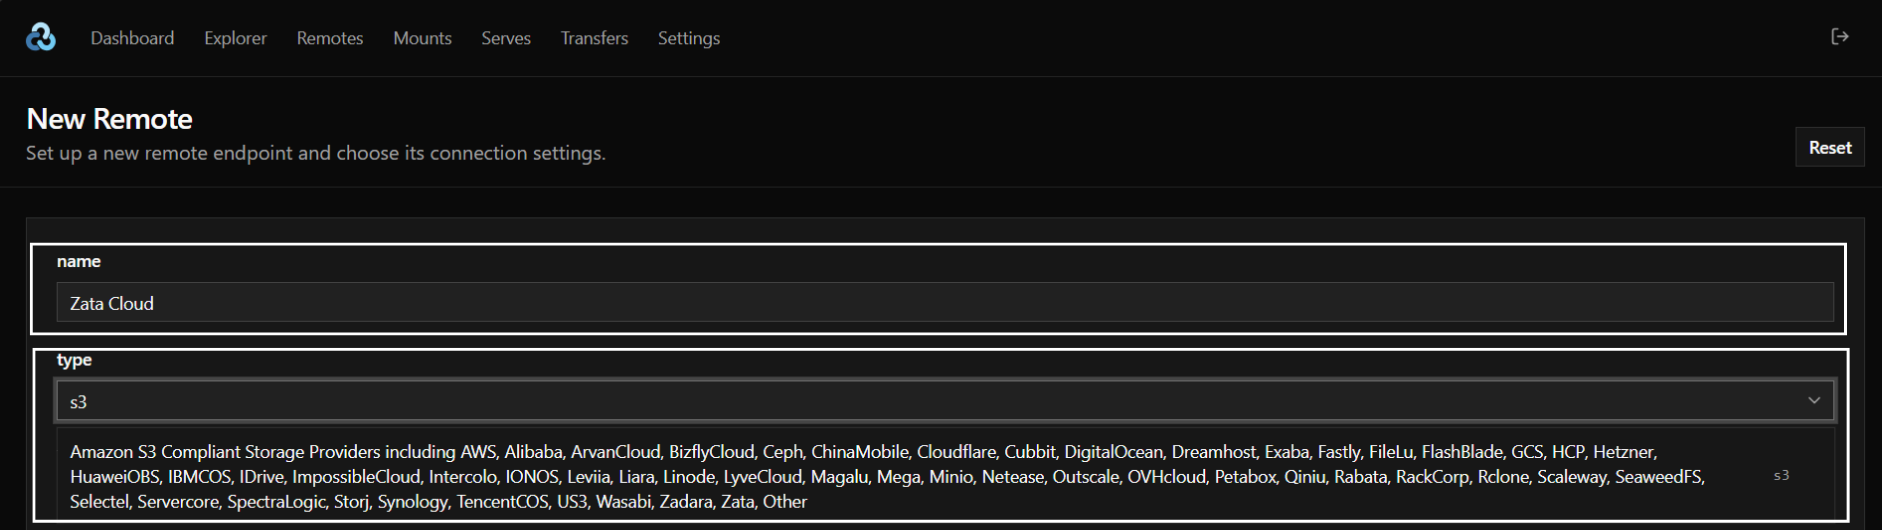
Fill in the fields:
- provider:
Other - env_auth: leave it off
- access_key_id and secret_access_key: your keys
- region:
us-east-1 - endpoint:
https://idr01.zata.ai(Mumbai:https://bom01.zata.ai)
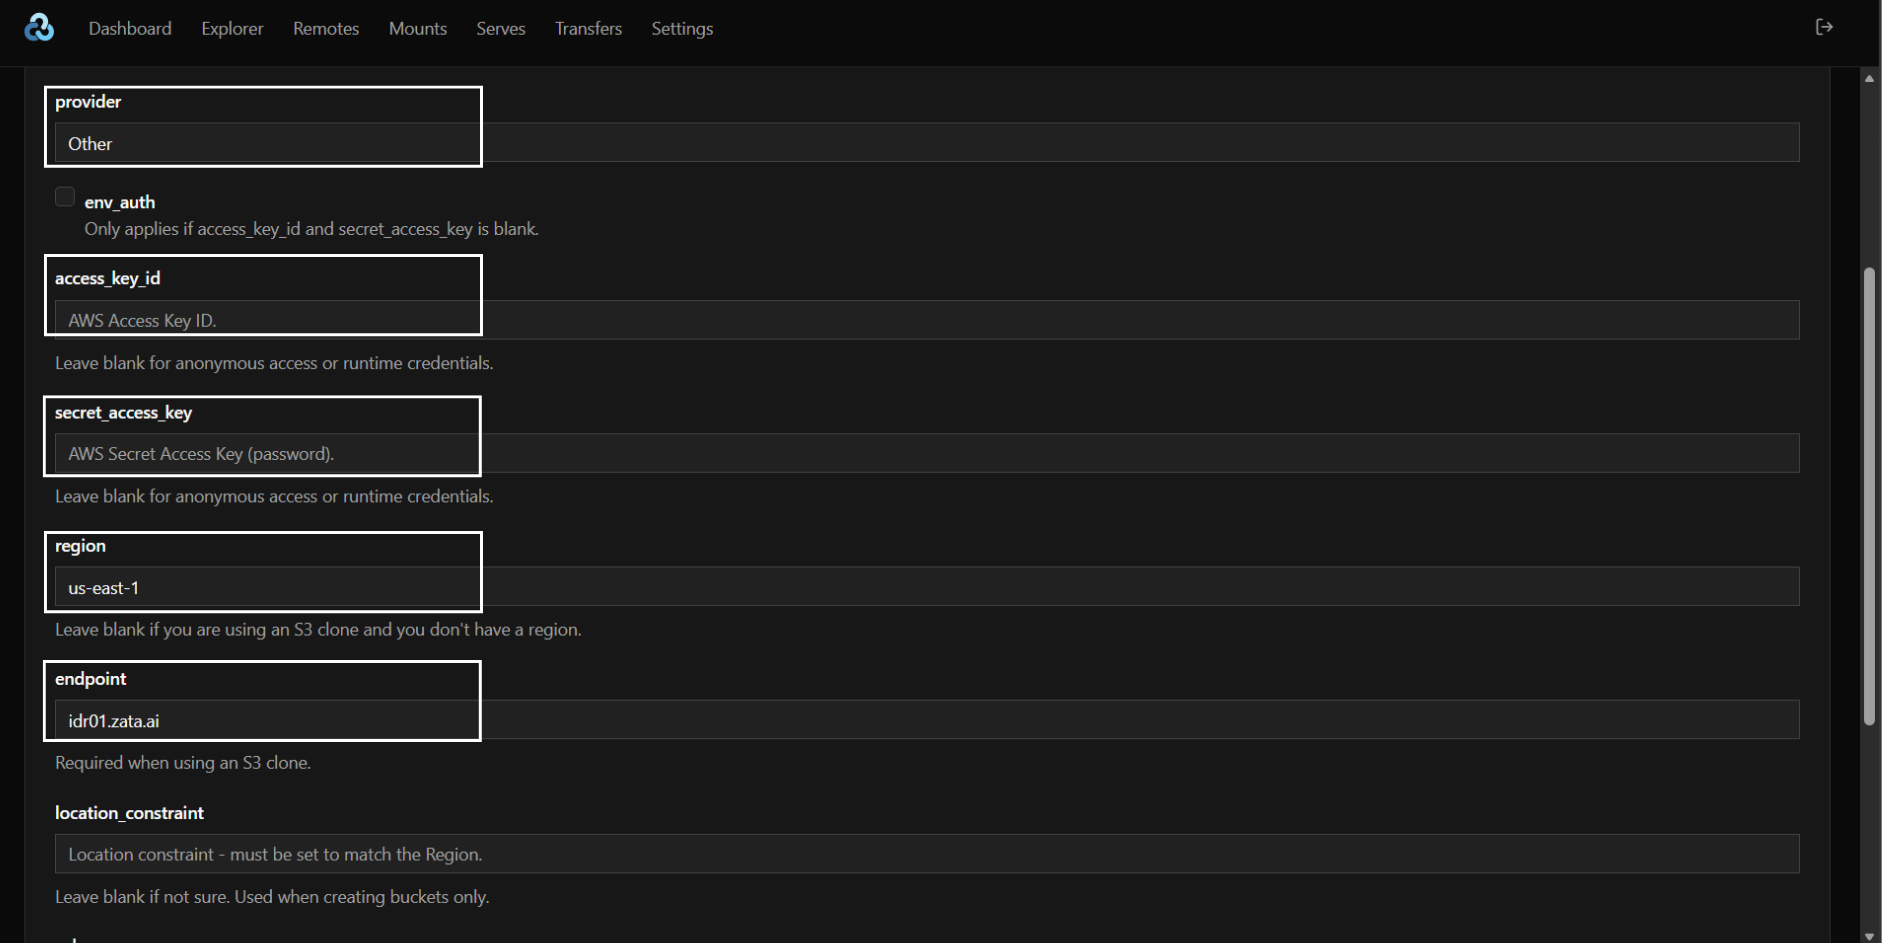
The screenshot shows the host typed without https://; both forms work. Include https:// to match the command-line setup.
Scroll down and open the advanced options (More Options). Then:
- Turn force_path_style on.
- Turn no_check_bucket on.
- Set sign_accept_encoding to
false.
rclone signs the Accept-Encoding header, so without sign_accept_encoding set to false you get SignatureDoesNotMatch on every request. This setting needs rclone v1.70 or newer; on an older rclone, update rclone.
Scroll to the bottom and select Create Remote.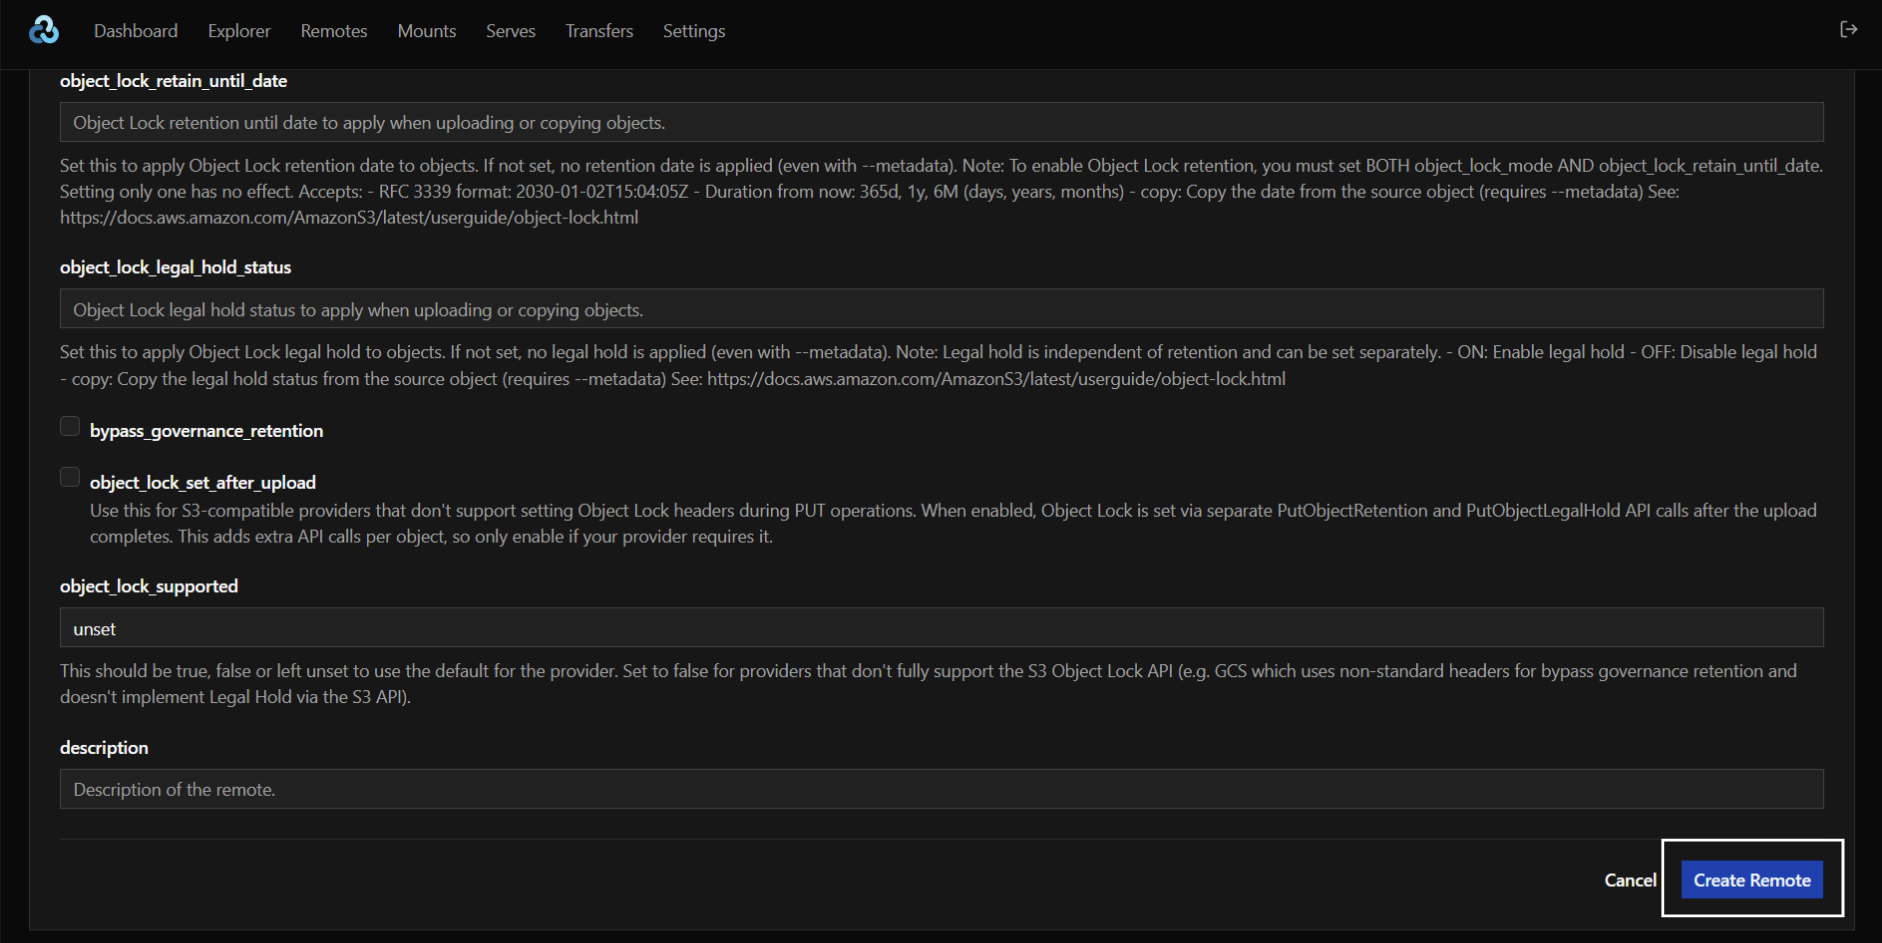
The new remote appears in the Remotes list.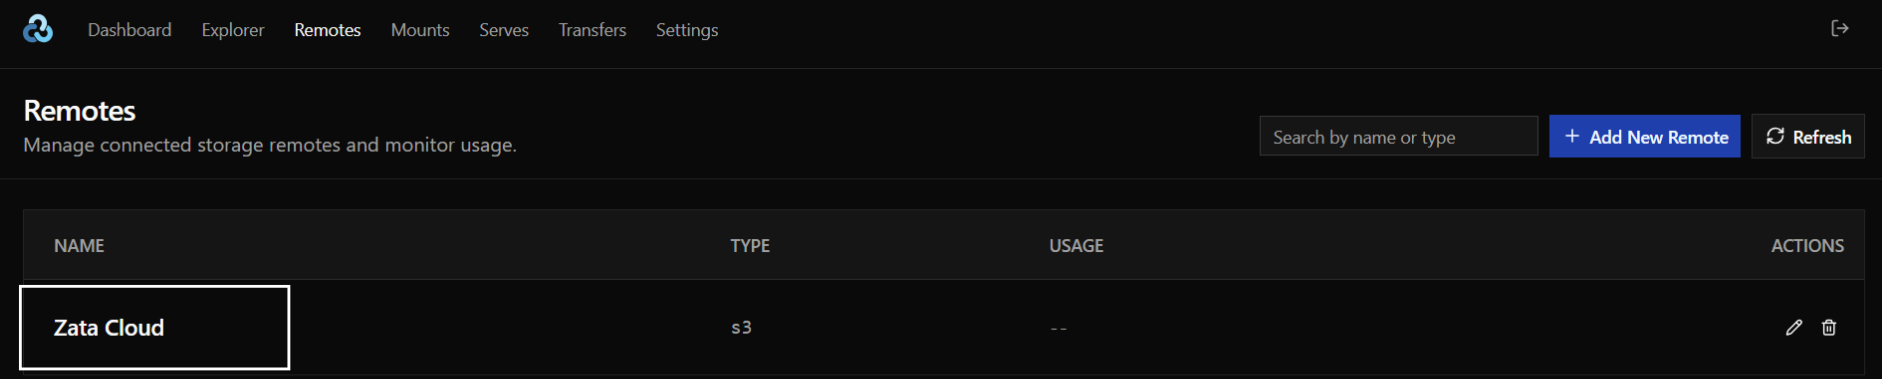
Create a bucket and upload files
Select Explorer in the top menu, then your Zata remote under REMOTES. Your buckets are shown as folders.
At the top level of the remote, select New Folder, enter a bucket name and select OK. The new bucket is created in the region of the endpoint.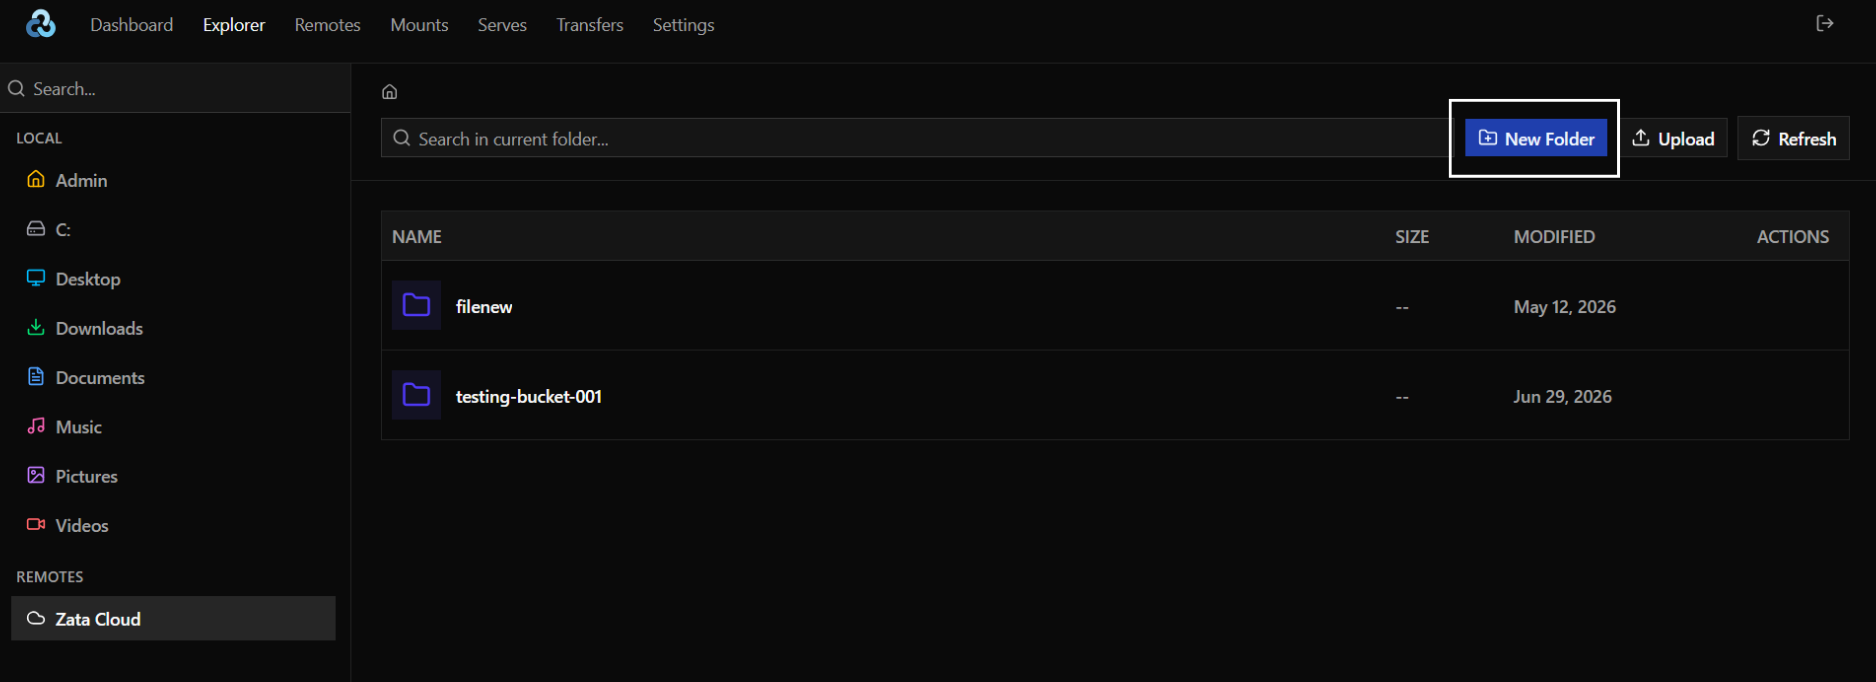
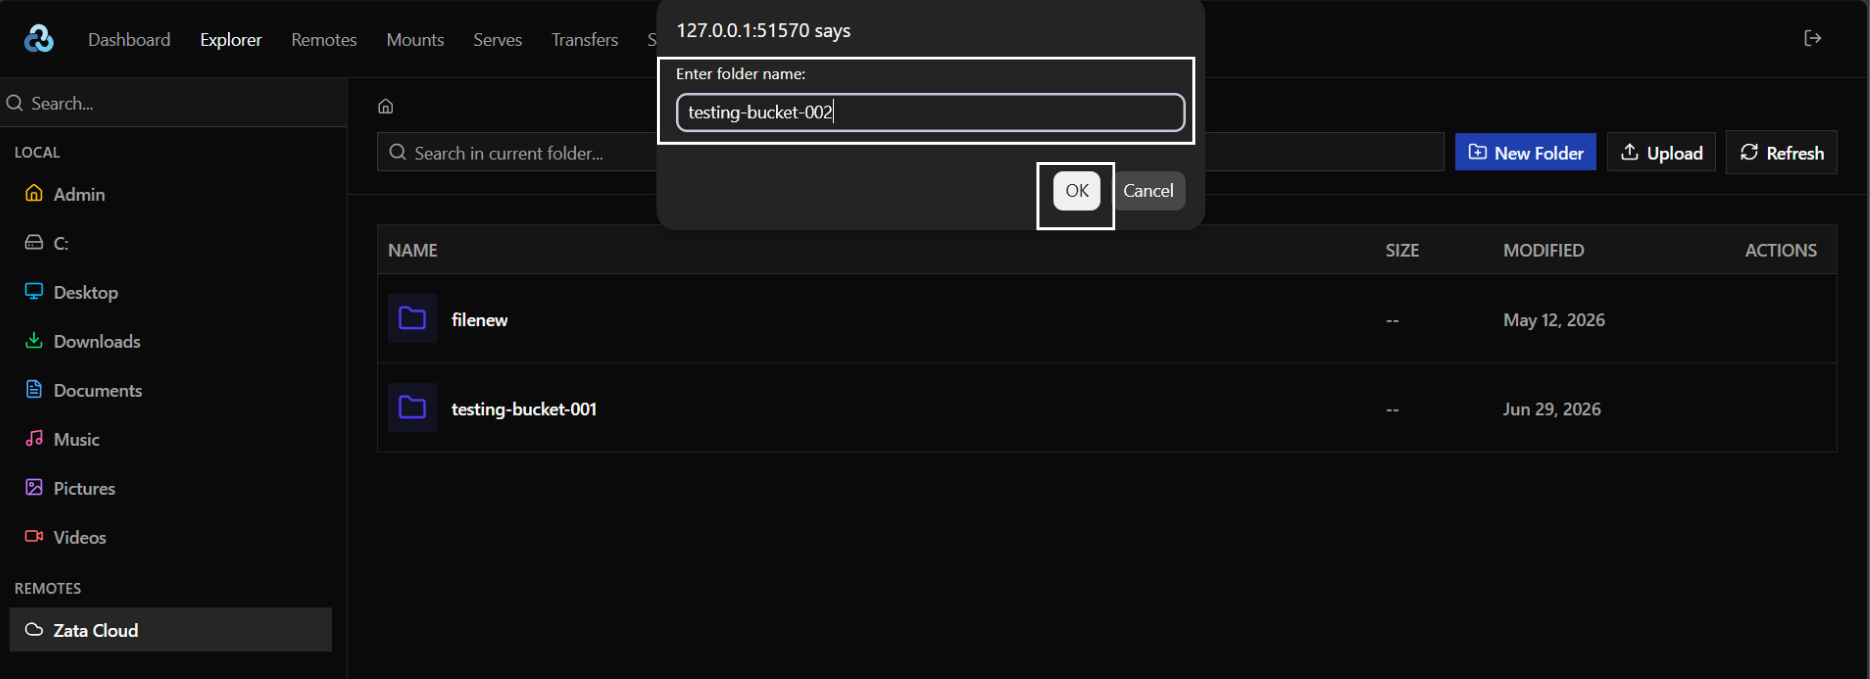
Only the account owner's key can create buckets. With a sub-user's key, create the bucket in the Zata console instead.
Open the bucket, select Upload, and choose the files on your computer.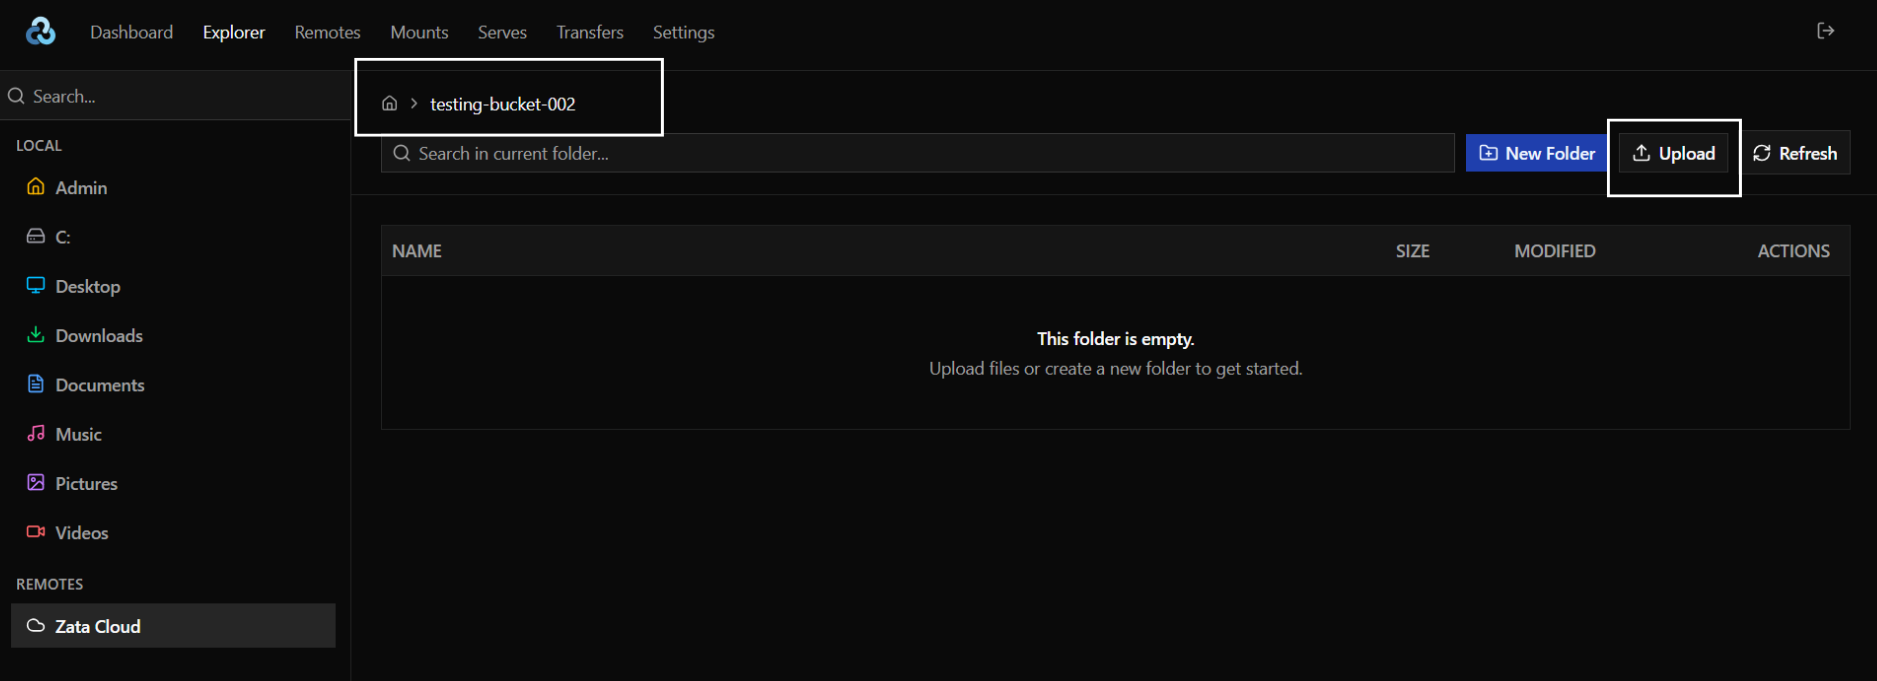
When the upload is done, the file is listed in the bucket. You also see it in the Zata console under Buckets.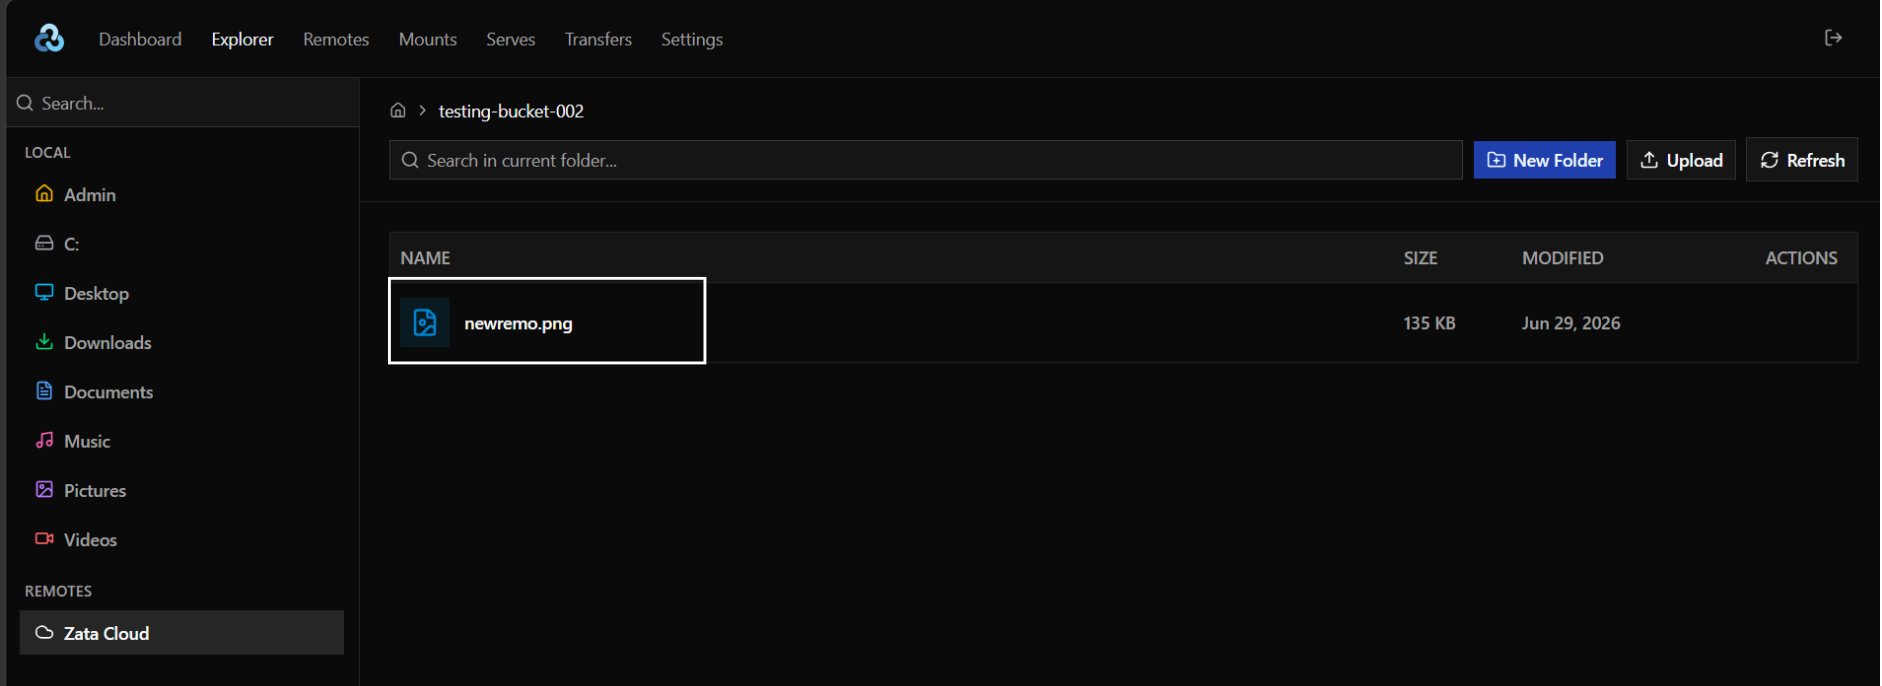
Troubleshooting
| Problem | Fix |
|---|---|
SignatureDoesNotMatch or 403 Forbidden when you open the remote | Edit the remote and set sign_accept_encoding to false. |
AccessDenied when you upload | Turn no_check_bucket on. If it still fails, the key may not be allowed to upload to this bucket. |
| No buckets are shown | A sub-user's key cannot list buckets. Use the command line with the bucket name, or ask the owner for access. |
For other errors, see Signature errors and Access denied.