> For the complete documentation index, see [llms.txt](https://docs.zata.ai/llms.txt). Markdown versions of documentation pages are available by appending `.md` to page URLs; this page is available as [Markdown](https://docs.zata.ai/dashboard/managing-profile-settings.md).
# Managing Profile Settings
#### Overview
The **Profile Settings** section allows users to manage their personal account information, update contact details, and configure security options such as password changes and multi-factor authentication (MFA).
Users can access profile settings from the **account menu** available in the top-right corner of the dashboard.
***
#### Procedure
**Step 1: Open Profile Settings**
1. Log in to the **Zata.ai Dashboard**.
2. Click on the **Profile icon** located at the **top-right corner** of the dashboard.
3. From the dropdown menu, select **Profile**.
This will open the **Profile Settings** page.
***
### Step 2: Edit Profile Information
1. On the **Profile Settings** page, click **Edit Profile**.
2. The profile fields will become editable.
Users can update the following details:
* **First Name**
* **Last Name**
Note:
* The **Username cannot be changed** from this page.
After making the changes, click **Save Changes**.
***
### Step 3: Manage Contact Information
The **Contact Information** section displays the user's registered email address and mobile number.
Fields include:
* **Email Address**
* **Mobile Number**
Important:
* The **Email Address cannot be changed** for security reasons.
* To update the **mobile number**, users must contact support.
***
### Step 4: Change Account Password
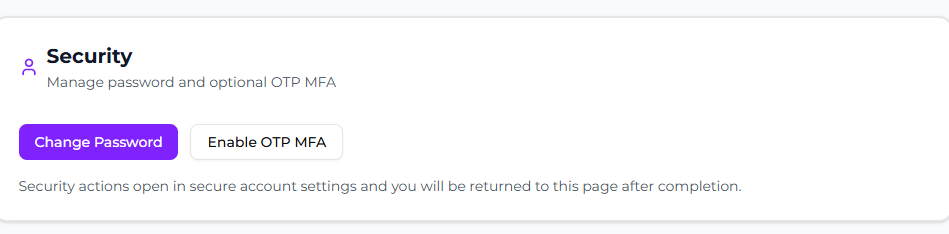
Users can update their account password from the **Security** section of the Profile page.
1. Click the **Profile icon** in the **top-right corner** of the dashboard and select **Profile**. (Subusers: click **Account Settings** in the left sidebar.)
2. On the Profile page, go to the **Security** section.
3. Click **Change Password**.
4. Follow the instructions in the secure account settings page.
5. After completion, you will be redirected back to the profile page.
***
### Step 5: Enable OTP Multi-Factor Authentication (MFA)
For additional security, users can enable **OTP-based Multi-Factor Authentication (MFA)**.
1. Click the **Profile icon** in the **top-right corner** of the dashboard and select **Profile**. (Subusers: click **Account Settings** in the left sidebar.)
2. In the **Security** section, click **Enable OTP MFA**.
3. A **Mobile Authenticator Setup** page will appear.
4. Install an authenticator application on your mobile device.
Supported applications include:
* Google Authenticator
* Microsoft Authenticator
* FreeOTP
5. Open the authenticator app and **scan the QR code** displayed on the screen.
6. Enter the **one-time code generated by the application**.
7. Provide a **Device Name** for the authenticator.
8. Click **Submit** to complete the setup.

***
**Result**
After completing these steps:
* Personal information will be updated successfully.
* Users can maintain secure access to their account.
* Multi-factor authentication provides an additional layer of security.