Your first bucket
Create a bucket, make an access key and upload your first file.
This quickstart takes you from a new account to a file stored in Zata. You create a bucket in the Zata console, create an access key for the same region, and upload a file with the AWS CLI.
1. Create a bucket
In the Zata console, open Buckets and select Create Bucket.
Enter a Bucket Name and choose a Region: Indore or Mumbai. Then select Next.
The console puts the first four letters of your username in front of the name. For example, shiv + image makes the bucket shivimage. Use this full name in your tools.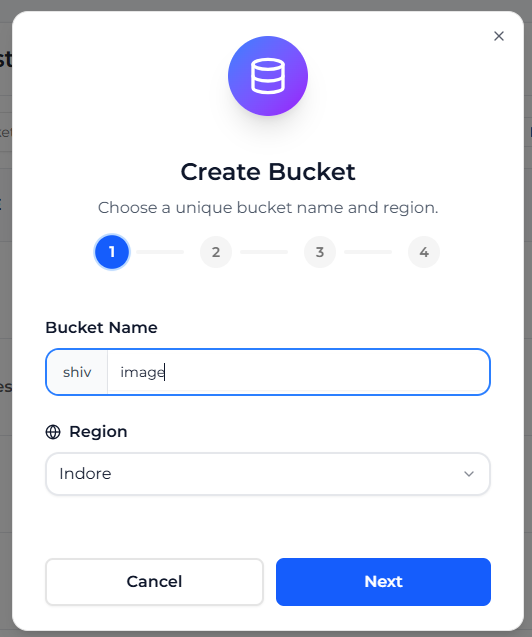
Turn on Enable Versioning if you want Zata to keep old versions of a file when you change or delete it. Enable Object Lock works only when versioning is on. Leave both off for a simple first bucket, then select Next.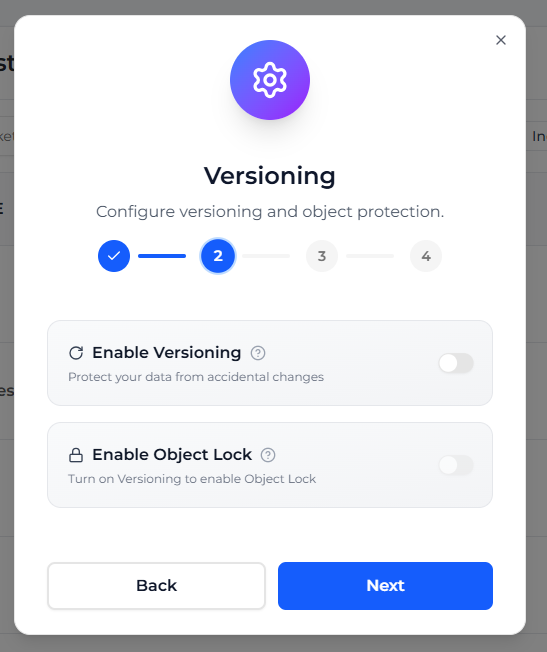
Tags are key and value labels that help you sort buckets. Type a Key and a Value, or select Add Tag for more. To skip, leave the row empty and select Next.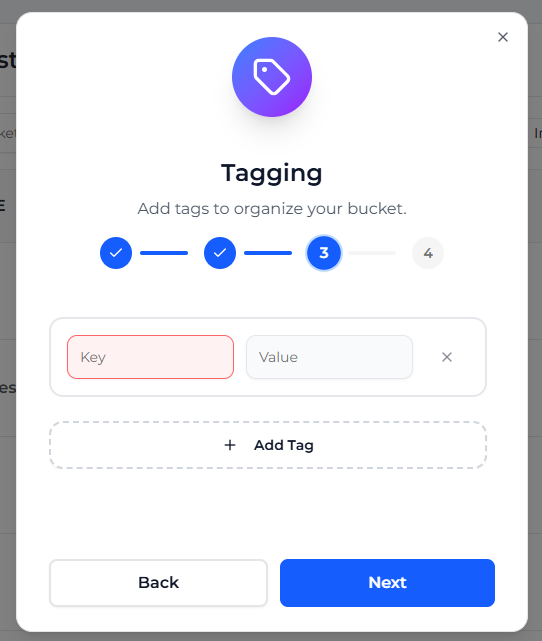
Check the bucket name, region and settings, then select Create Bucket. The new bucket appears in your bucket list.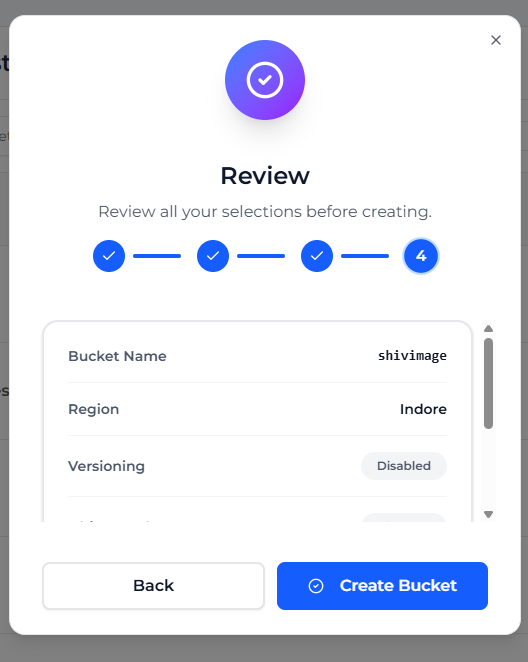
You can turn on Object Lock only while you create a bucket, in the Versioning step. See Object Lock. For naming rules and all options, see Create a bucket.
2. Create an access key
An access key works in one region only, so create it in the region of your bucket.
Open Access Keys and select Generate Key.
Select Root User. Under Select Region, choose the region of your bucket, then select Continue.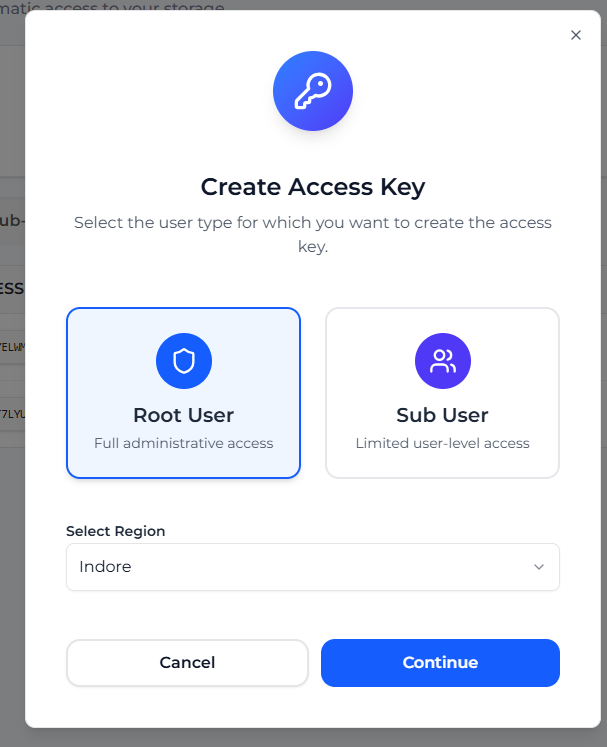
Select Generate Key. A .txt file downloads with the service URL, your access key, your secret key, the region and the user.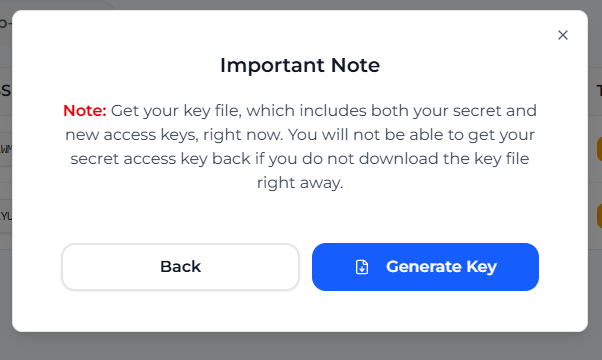
Keep the key file safe. You can't see the secret key again. If you lose it, delete the key and create a new one. See Access keys.
3. Upload a file
These steps use the AWS CLI. If you don't have it yet, see AWS CLI for how to install it.
aws configure --profile zata
| When it asks | Type |
|---|---|
| AWS Access Key ID | your access key |
| AWS Secret Access Key | your secret key |
| Default region name | us-east-1 |
| Default output format | json |
For a bucket in Mumbai, use https://bom01.zata.ai instead.
aws configure set endpoint_url https://idr01.zata.ai --profile zata
aws configure set s3.addressing_style path --profile zata
aws configure set request_checksum_calculation when_required --profile zata
aws configure set response_checksum_validation when_required --profile zata
The last two lines stop large uploads from failing on new AWS CLI versions.
Replace my-bucket with your full bucket name.
aws s3 cp myfile.txt s3://my-bucket/ --profile zata
aws s3 ls s3://my-bucket --profile zata
The file also shows in the console when you open the bucket under Buckets.
If a command fails, see Wrong endpoint or region and Access denied.
Use another tool
Every S3 tool needs the same four things: the endpoint of your bucket's region, the region name us-east-1, and your access key and secret key. See Settings for any S3 tool for step-by-step guides for rclone, Cyberduck, S3 Browser, backup software and more.
Next steps
- Endpoints and regions: all connection settings in one place.
- Share a file: send someone a download link.
- Sub-users: give a team member access to only some buckets.