> For the complete documentation index, see [llms.txt](https://docs.zata.ai/llms.txt). Markdown versions of documentation pages are available by appending `.md` to page URLs; this page is available as [Markdown](https://docs.zata.ai/knowledgebase/how-to-transfer-data-to-zata.ai-bucket-using-rclone/for-linux-server.md).
# For Linux Server
Rclone is an open-source command-line program that helps you manage, sync, and transfer files and directories across different cloud storage services and local systems.
[Embedded Link](https://youtu.be/UojhD_jVZX8)
## **Prerequisites:**
Select any Linux Operating system to perform these processes.
We have chosen the operating system Ubuntu 22.04
Click on the link to Launch [instance](https://docs.neevcloud.com/neevcloud-products/computes/getting-started-launch-vms).
For Zata.ai configuration:
* Click on the Zata [login page](https://auth.zata.ai/realms/zata/protocol/openid-connect/auth?client_id=zatacloud_client\&redirect_uri=https%3A%2F%2Fmy.zata.ai%2F\&state=dd2b5305-f7f5-4922-8639-4b0c62060c2f\&response_mode=fragment\&response_type=code\&scope=openid\&nonce=646d8811-0870-469c-9045-9e13d0fdd1b3\&code_challenge=wRG6I1qb9wdmY4unvHhPYaYq5WWM-801w72AYyLi8xY\&code_challenge_method=S256).
* Zata Bucket - See our [Bucket Creation Guide](https://docs.zata.ai/manage/bucket/create-bucket)
* Zata Access & Secret Key Pair - See our [Access Keys Guid](https://docs.zata.ai/manage/access-keys/creating-a-new-access-key)e
* For more information about the [zata.ai](https://zata.ai/)
After successfully launching the instance, follow these steps:
### Update && Upgrade the system.
```
sudo apt-get update -y
sudo apt-get upgrade -y
```
Transfer Data to Zaat.ai Bucket Using Rclone on Ubuntu.
## Install and configure the rclone.
Install the rclone.
```
sudo apt-get install rclone -y
```
### To configure rclone for Zata.ai.
Run the following command to configure ' **rclone** '
When you run the command above, follow these steps:
Choose 'n' to create a new remote
Name: Zata (Give the name of the remote)
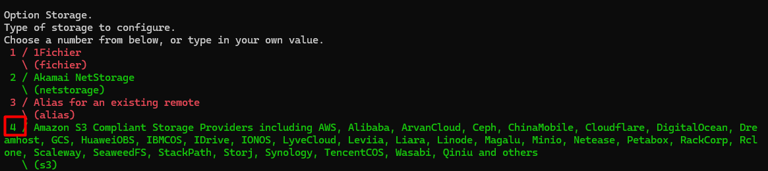
Type of storage to configure: '4'; these values vary depending on the rclone version.
Choose your S3 Provider to choose '13' for Zata object storage(if there is no zata then you can select other), these numbers are very dependent on the rclone versions.
Get credentials from runtime (environment variables or metadata if no env vars). This only applies if access\_key\_id and secret\_access\_key are blank. Enter a boolean value (true or false). Press Enter for the default ("false"). Choose a number from below, or type in your value
**env\_auth: true**
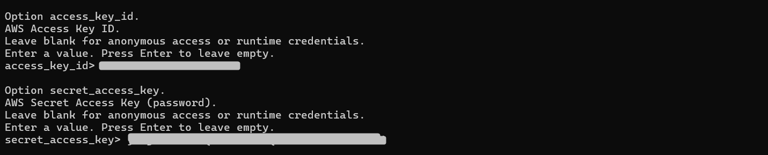
**Access & Secret key** - We have created the above in the zata.ai section.
Region to connect to. Leave blank if you are using an S3 clone and you don't have an area. Enter a string value. Press Enter for the default. Choose a number from below, or type in your value
Endpoint for S3 API. Required when using an S3 clone. Enter a string value. Press Enter for the default. Choose a number from below, or type in your value
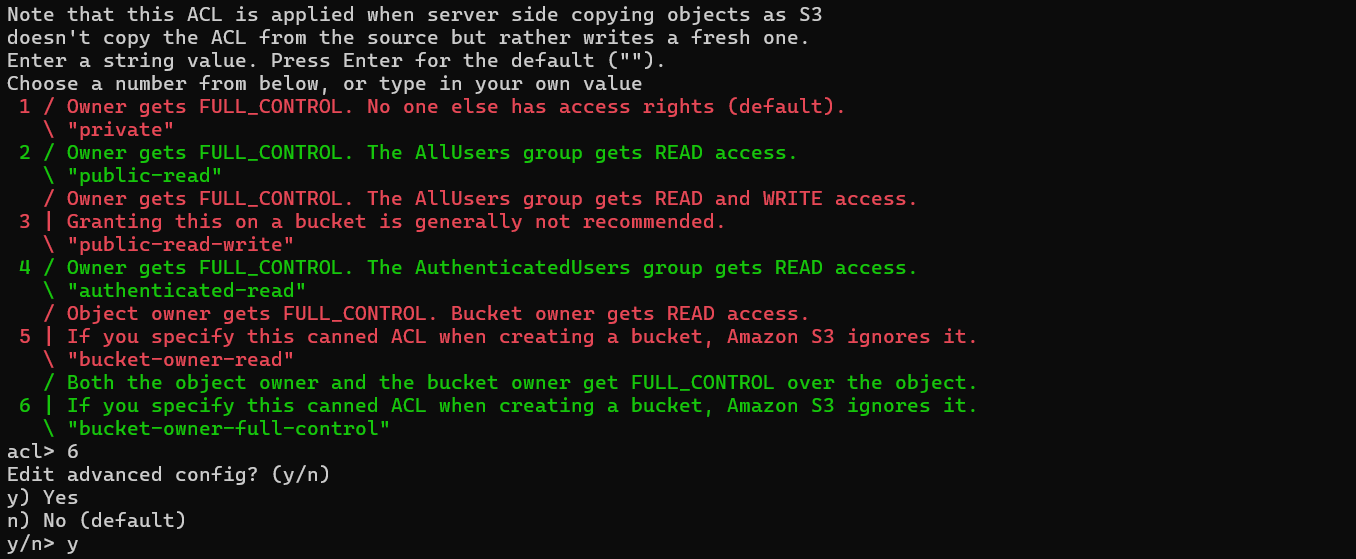
Note that this ACL is applied when server-side copying objects as S3
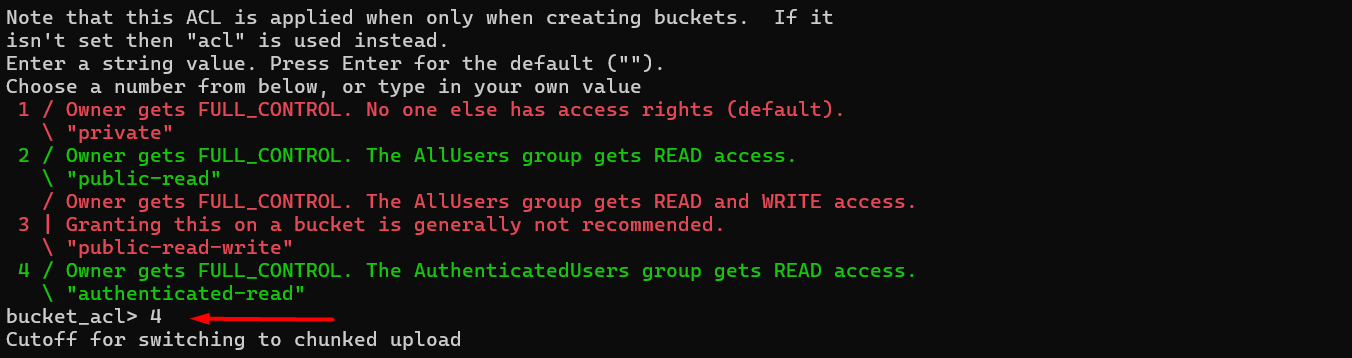
Note that this ACL is applied only when creating buckets.
After completing these processes, simply press Enter at each step
After this, all processes use the default configuration, so press Enter to continue.
This is the remote configuration completed after following these steps:
Now complete the configuration to run these commands.
### To copy and move your data
You can run it accordingly.
```
rclone copy zata:(bucket-name) --progress
```
```
rclone move zata:(bucket-name) --progress
```
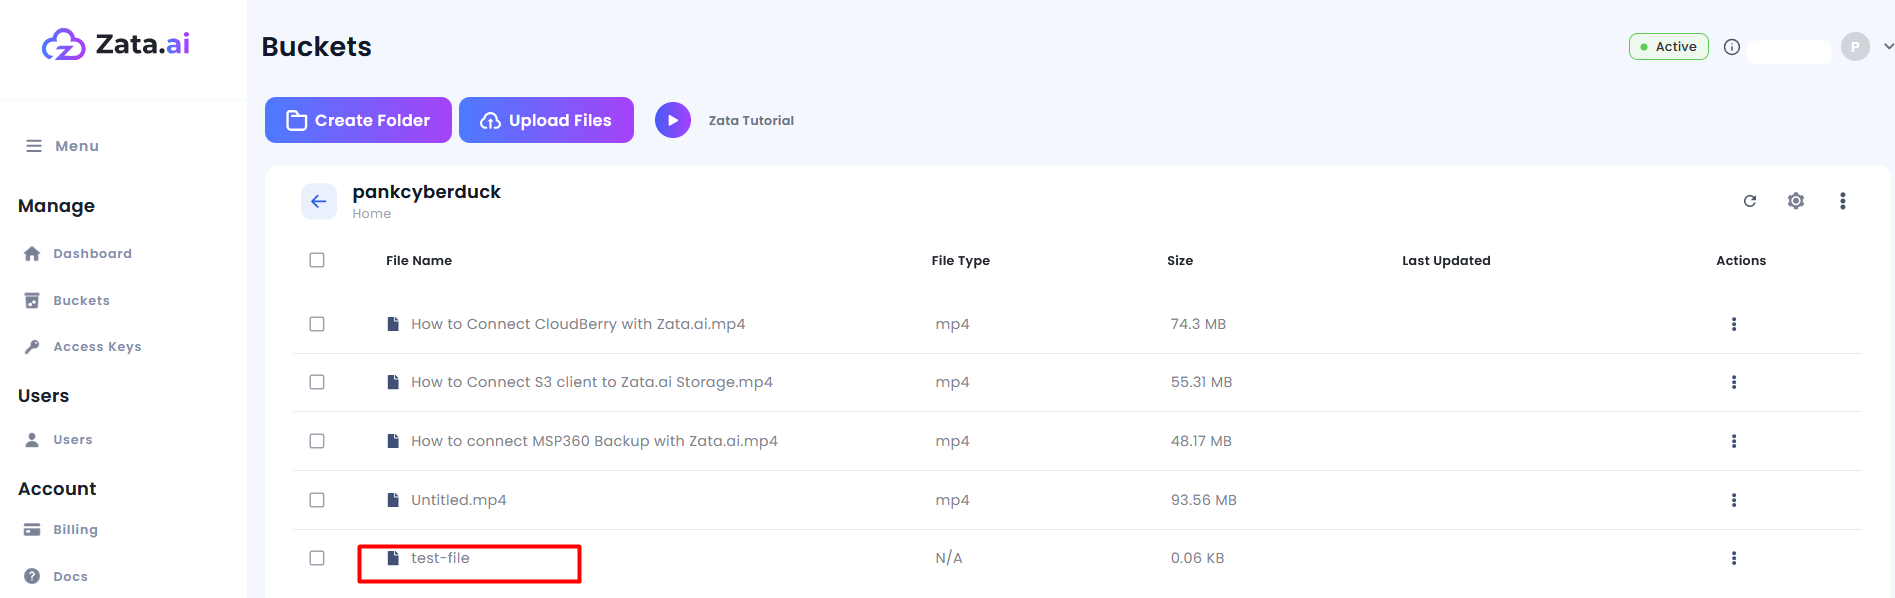
Zaat. Now, navigate to the zata.ai bucket section, open the bucket, and check if the data has been transferred.
Download or restore your server files from Zata to your local system.
```
rclone copy zata:(bucket_name) /path/to/local/directory
```
* `zata` Your rclone remote
* `your-bucket-name`The name of the bucket in Zata.ai.
* `/path/to/local/directory`Where do you want to restore the files